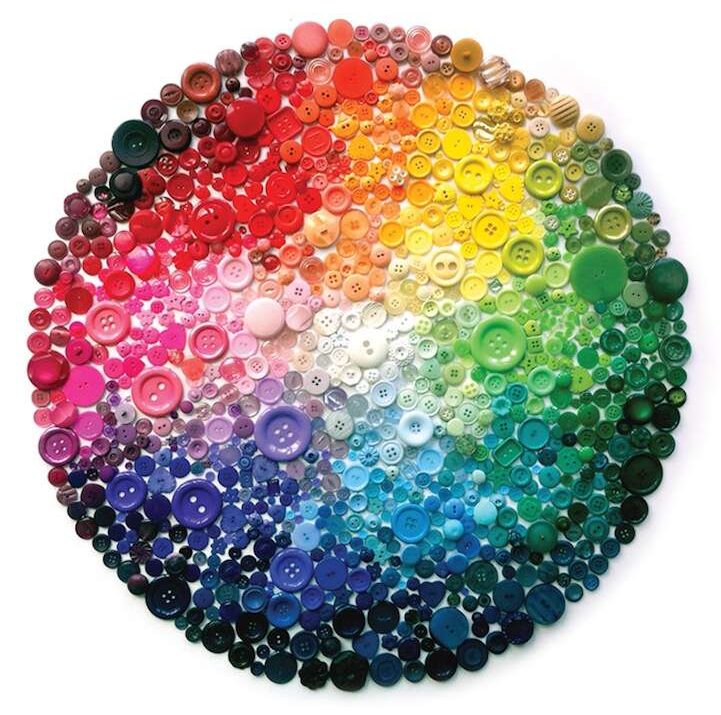
A rainbow button is a simple and fun way to add a pop of color to any project. Use this easy and quick craft to create a fun kids’ project, or gift it as a welcome to the neighborhood gift!
To make your own rainbow button wall art, all you need are some buttons, glue, and a piece of cardstock. This wall art was incredibly easy to put together and went together in just about 15 minutes!
Glue
Glue is a great way to stick things together and there are many different types of glue that you can use. You can also mix food coloring or glitter into the glue to add a pop of color.
Hide glue is one of the oldest adhesives and comes in a variety of strengths and colors. It’s a reliable adhesion that is used to repair antique furniture and fabric.
It is made from animal hide and comes in a solid or liquid form. It has a strong tack and is nontoxic, making it perfect for repairing antiques and fabric.
Cut Your Fabric
Before you start sewing, it’s important to cut your fabric correctly. If you don’t, your button won’t work and you’ll waste time and money trying to fix it.
To cut your fabric properly, check that the selvage is aligned to the edge and that the fabric lays flat without wrinkling. You can do this by folding the fabric Rainbow Buttons in half lengthwise and matching up the cut edges.
Once you have your fabric properly aligned, transfer the construction marks from your paper pattern to the fabric using a pin. This will help you sew the pattern more accurately and ensure that your finished product is perfect!
Once your fabric is completely aligned, use a straight pin as a spacer to help keep your button from getting too tight. This will give your button more room to breathe and make it easier to button.
Attach the Button
You can affix this trinket to your prized possession with aplomb using a colorful ribbon. Unlike the more staid sexies, you won’t have to remove it when the time comes to get down to business. Depending on your budget, you might even be able to make a couple of these in the name of tea time!
You can also see it gracing the dinner table, and you’ll probably have some left over for the after work hors ey. The best part? It only took about 15 minutes to put together! Now you can show off to your guests the night you snoozed in style.